10 Walk-In Pantry Ideas on a Budget That Look Custom
You already know which shelf is the problem. The deep one, or the corner one — and whatever’s at the back has been there long enough that you’ve bought a replacement twice.
This post includes affiliate links. If you make a purchase through them, I may earn a small commission at no extra cost to you. More details here.
The temptation is to go buy baskets. Don’t, not yet. There’s one measurement almost nobody takes before ordering storage, and it’s in point three.
Because pantries that look custom rarely cost much. They’re just consistent: one color, one shelf depth, three repeated container styles instead of eleven, and good lighting. Get that right and basic melamine starts to look like custom cabinetry.
1. Paint the shelves and walls the same color
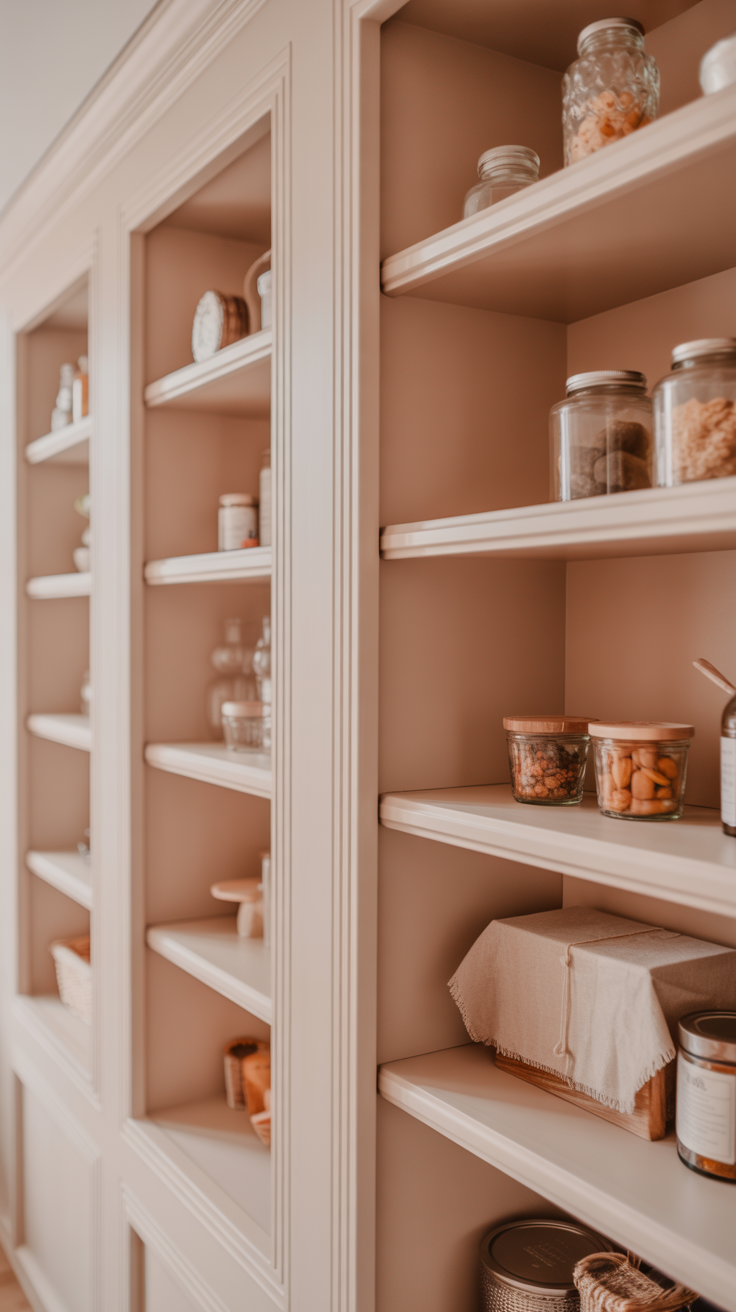
This is one of the cheapest illusions in interior design. Contrast makes your eye see separate shelves sitting in a room; one continuous color makes the whole wall read as a single built-in unit.
Add slim pine trim along each shelf edge first, then fill the gaps and paint everything in an eggshell finish. You can often do it for around $20–$30 and one Saturday. A thin 1/2-inch shelf edge can look flimsy; adding roughly 3/4-inch trim to the front gives it a much more substantial, custom-built look.
Want it prettier? Scalloped trim along the front edge is an inexpensive upgrade and instantly gives a plain pantry an English-cottage feel.
2. If you’re replacing shelves, buy for the weight
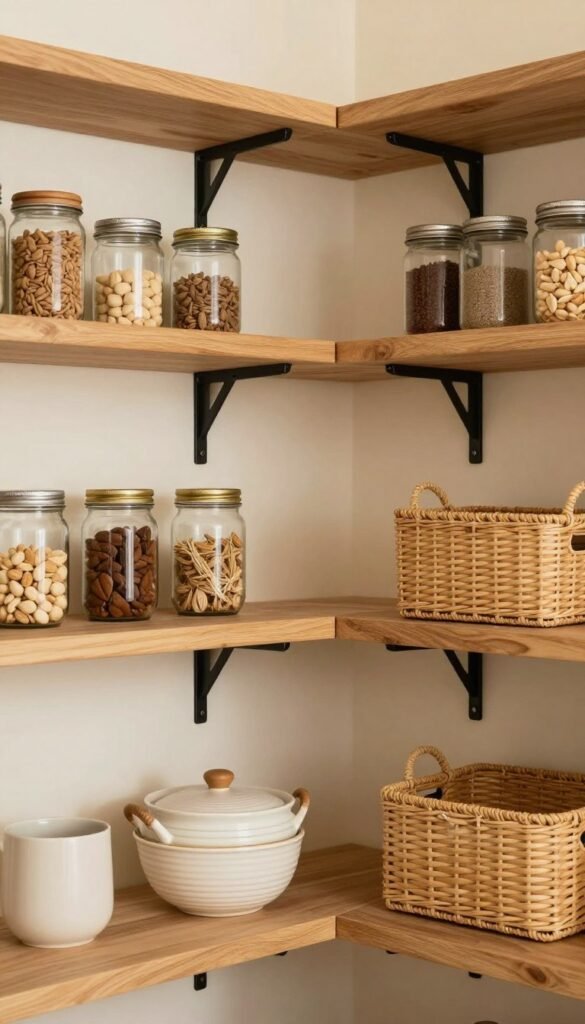
You don’t need oak. Three-quarter-inch pine, cut at a lumberyard or home improvement store and finished in a warm oiled tone, gets you the look for a fraction of the price — and warm wood against off-white walls with black brackets is a combination that photographs beautifully.
- Watch the span. A 3/4-inch pine shelf spanning more than about 32 inches without center support can start to bow once it’s holding canned goods and a stand mixer.
- Same depth everywhere. Mismatched depths are one of the clearest signs that shelving was added piece by piece.
- Vary the gaps instead. Leave one taller section for cereal boxes and appliances, with most shelves spaced around 10–12 inches apart where practical.
3. The measurement that can waste $50
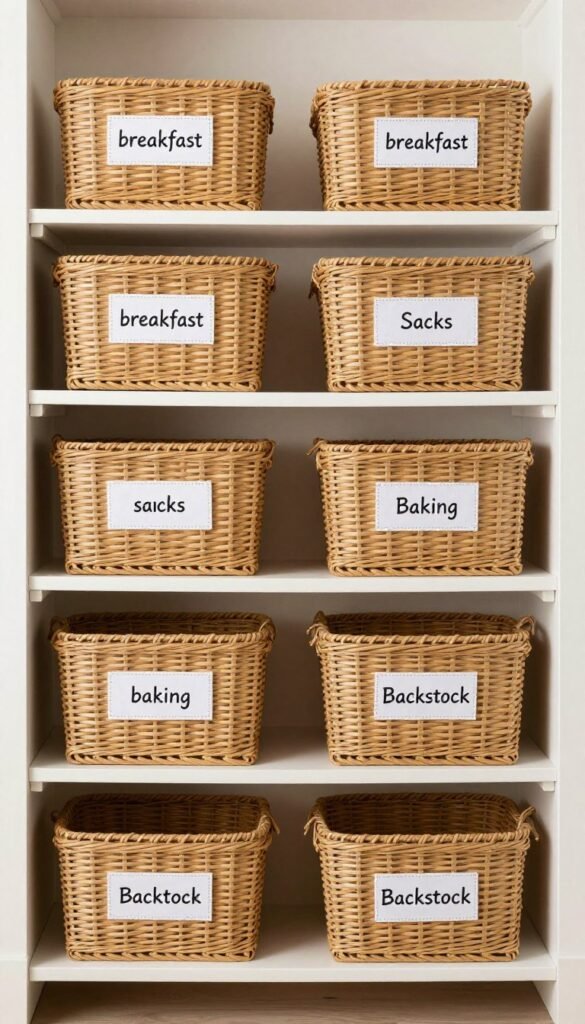
Everyone measures width and depth. Almost nobody measures the vertical clearance between shelves, or checks whether basket handles extend above the rim.
Get it wrong and the baskets technically fit — which is worse. You’ll have to lift each one clear before you can see inside, and it’ll quietly stop being used within a month.
Measure the gap, subtract at least an inch, then buy one basket. Live with it for a week before ordering the rest.
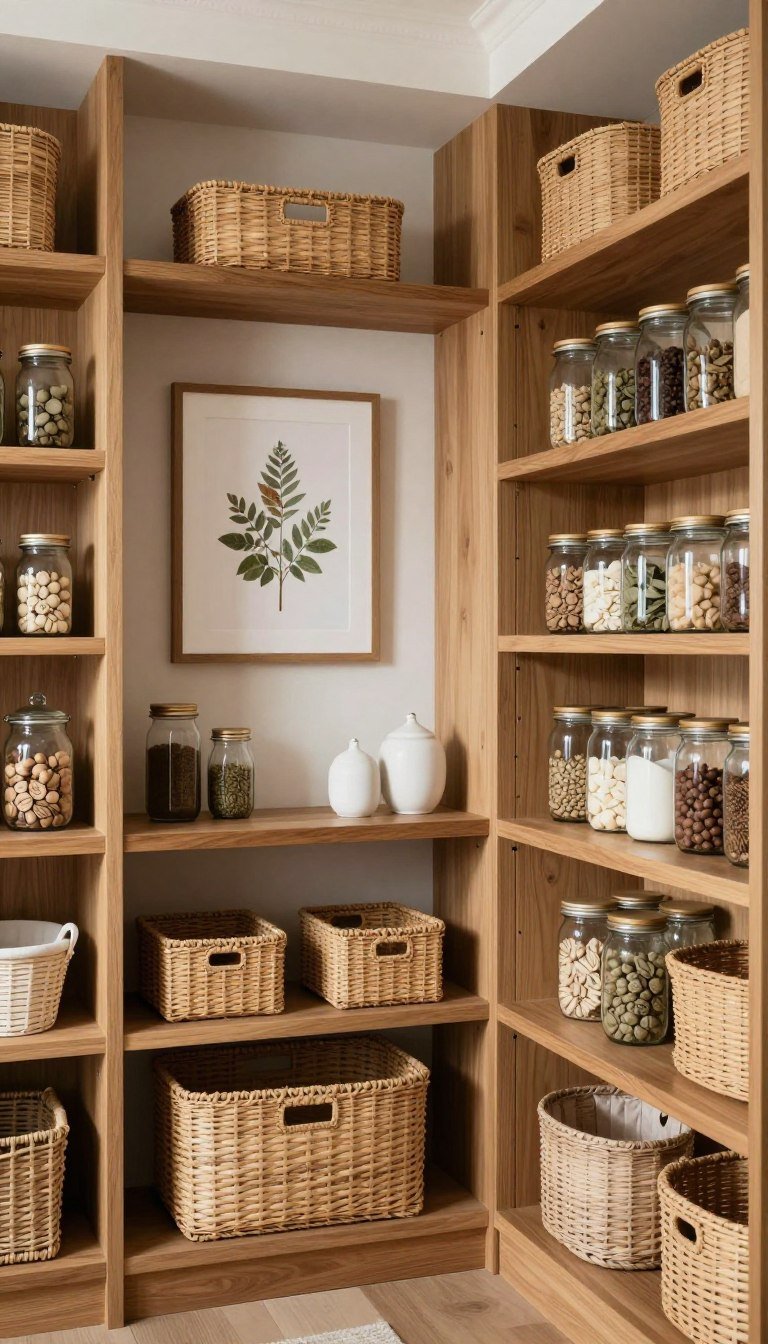
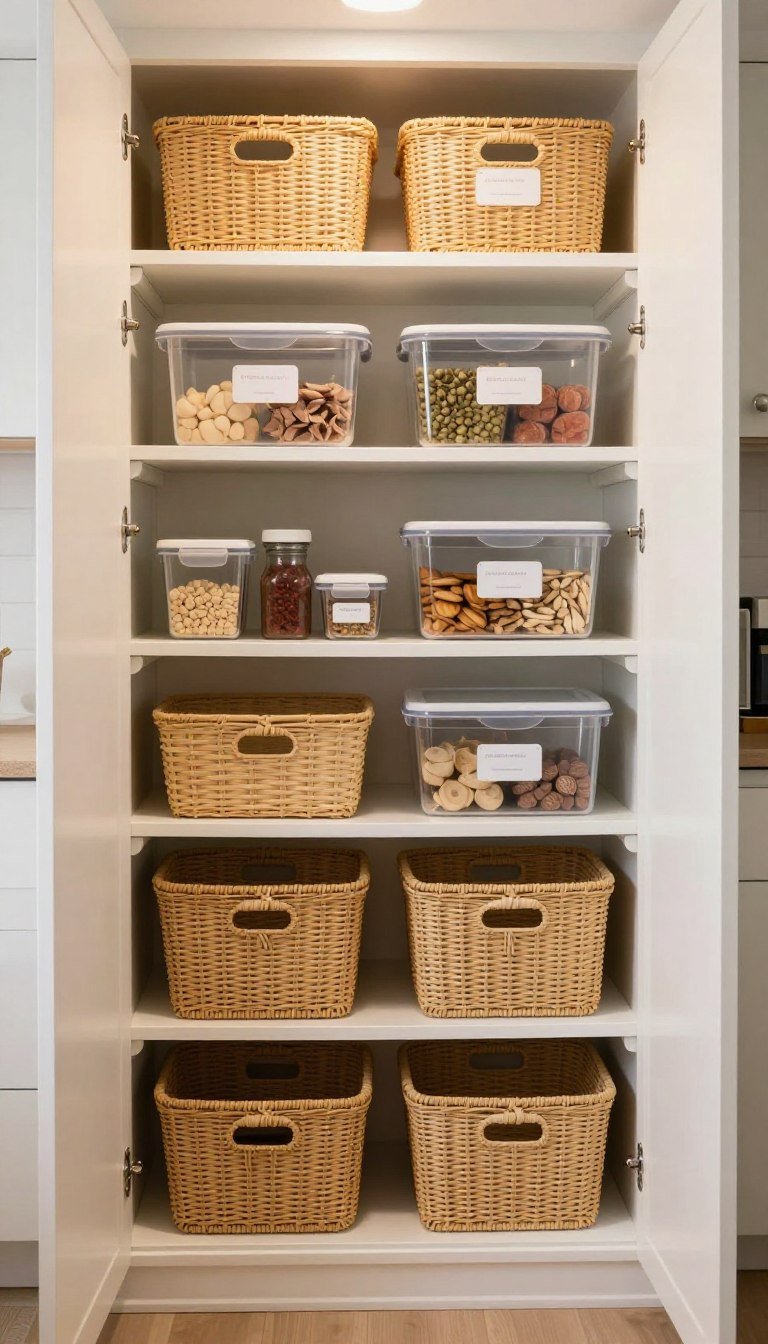
For the look, repetition beats variety every time. Six identical seagrass baskets read as a system; six interesting mismatched ones read as six separate purchases. Add small brass or leather label holders and inexpensive baskets suddenly look custom.
4. Decant less than Pinterest tells you to
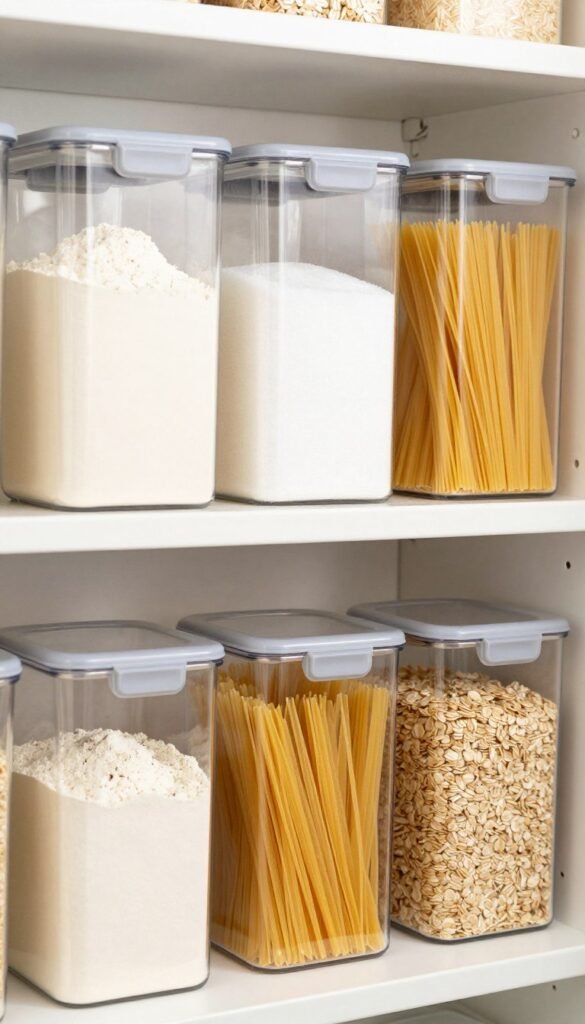
The fully decanted pantry is a photograph, not necessarily a system. It only survives if you’re willing to refill containers after every grocery run, forever.
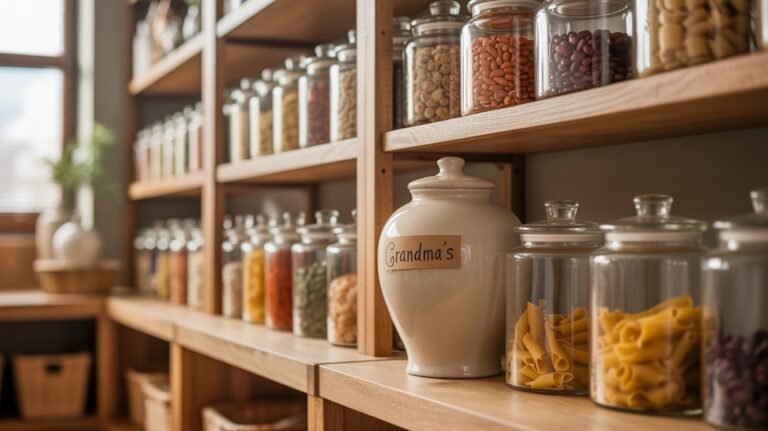
Decant the six things you reach for weekly — flour, sugar, oats, rice, pasta and coffee. Everything else can stay in its original packaging inside a basket where nobody sees it.
Glass containers with wooden lids look warmer than plastic and often don’t cost much more. Line them up by height, tallest at one end — that single move does more for the overall look than the jars themselves. And cut the cooking instructions off the package and tuck them inside. You will forget the rice-to-water ratio.
5. Labels, briefly
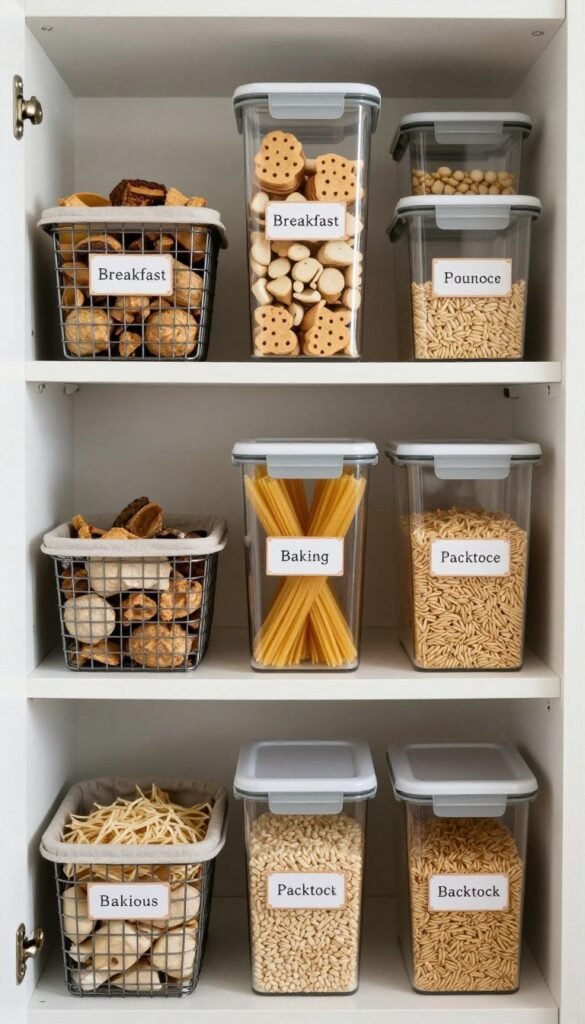
You don’t need calligraphy on a cereal container. Labels give everything a fixed address, which is the real reason an organized pantry stays organized — other people can put the groceries away without asking you where everything goes.
One font, one size, one color. Use broad labels on baskets (Snacks, Baking, Backstock) and more specific ones on jars. Kraft-brown labels suit wood shelving; simple black-on-white labels work beautifully with painted shelves.
6. Better lighting beats better storage
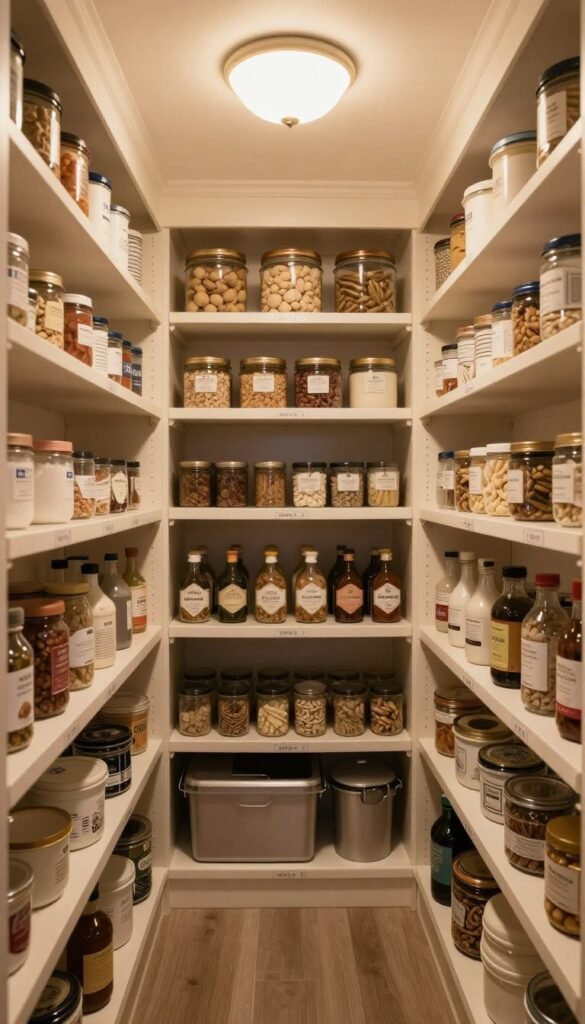
Do this one first. Stand in your pantry doorway: if the only light is a single bulb above the door, you’re probably casting a shadow over the exact shelves you’re trying to see. That’s why you somehow own three bags of flour.
Rechargeable motion-sensor puck lights often cost around $20–$30 for a multipack and need no wiring. Keep the light warm — around 2700–3000K. At 5000K your pantry starts to look like a walk-in cooler.
If you have a ceiling fixture, swap a basic light for a small rattan pendant or ribbed-glass fixture. It’s one of the fastest ways to make a utility space feel like a thoughtfully designed room.
7. The back of the door is free storage
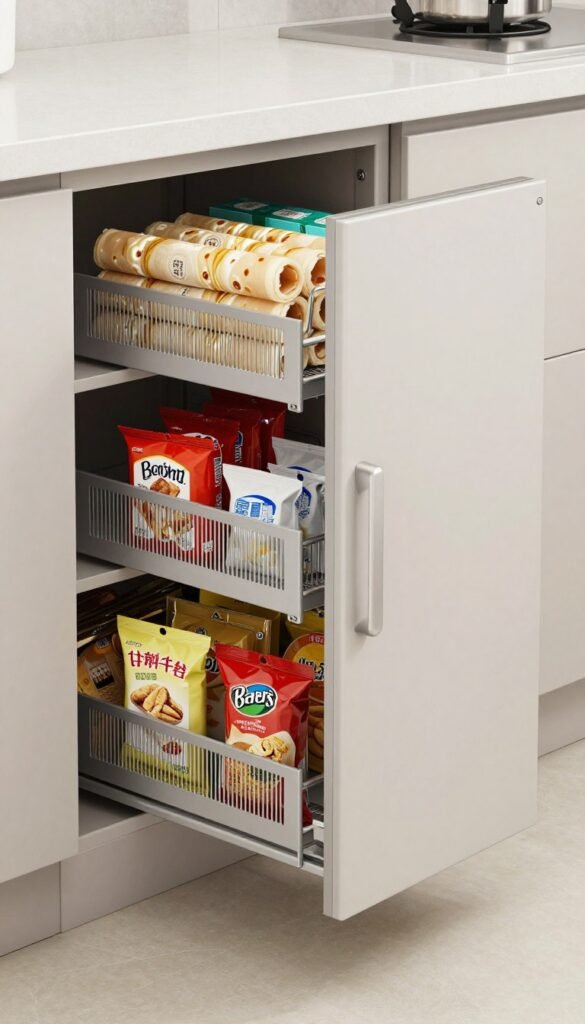
It’s one of the few places where you can add storage without taking away valuable floor or walkway space. Shallow racks are perfect for the flat, small things that disappear behind bigger items: foil, plastic wrap, parchment paper, bouillon cubes and everyday spices.
Make two checks first. Make sure the door still clears the shelf edges when it closes, and make sure it can take the weight. A hollow-core door with a heavily loaded rack can eventually start to sag on its hinges.
8. Be honest about the corner
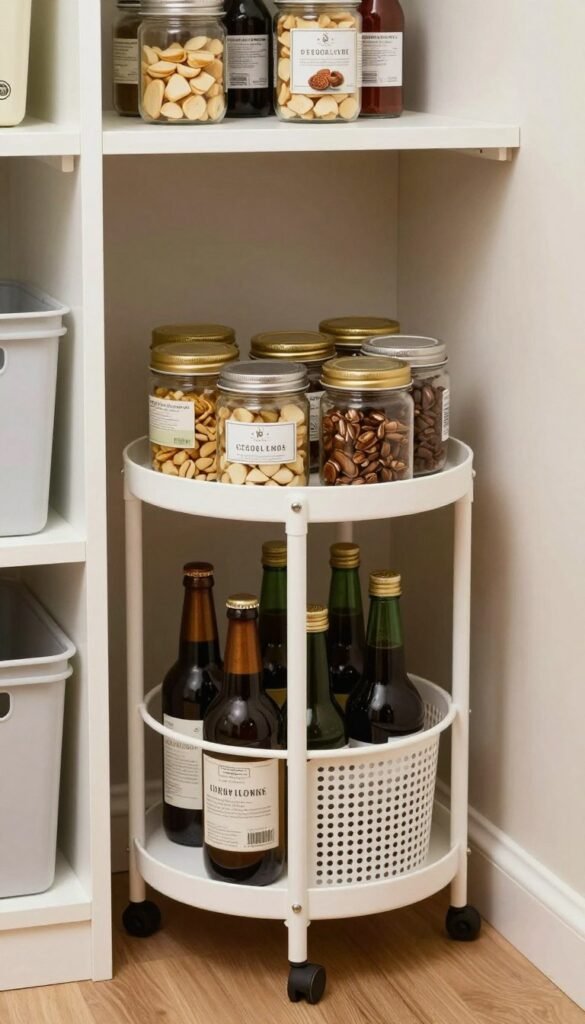
Every walk-in pantry has one corner that’s technically storage and functionally a graveyard. You know which one yours is.
The fix is access, not more shelving. A wooden turntable works beautifully for oils and condiments — one spin and you can see everything. Handled bins take care of the rest. Then give the deepest corner to the slow cooker and the backstock, not anything you need on a Tuesday night.
Being able to reach the back of a shelf is worth more than having a deeper shelf.
9. Three feet of countertop changes the whole room
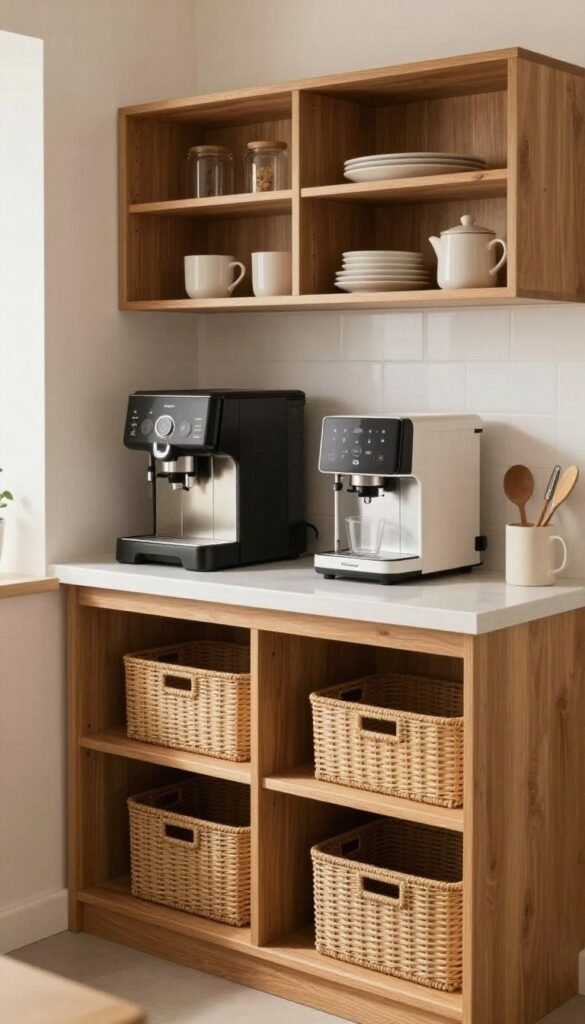
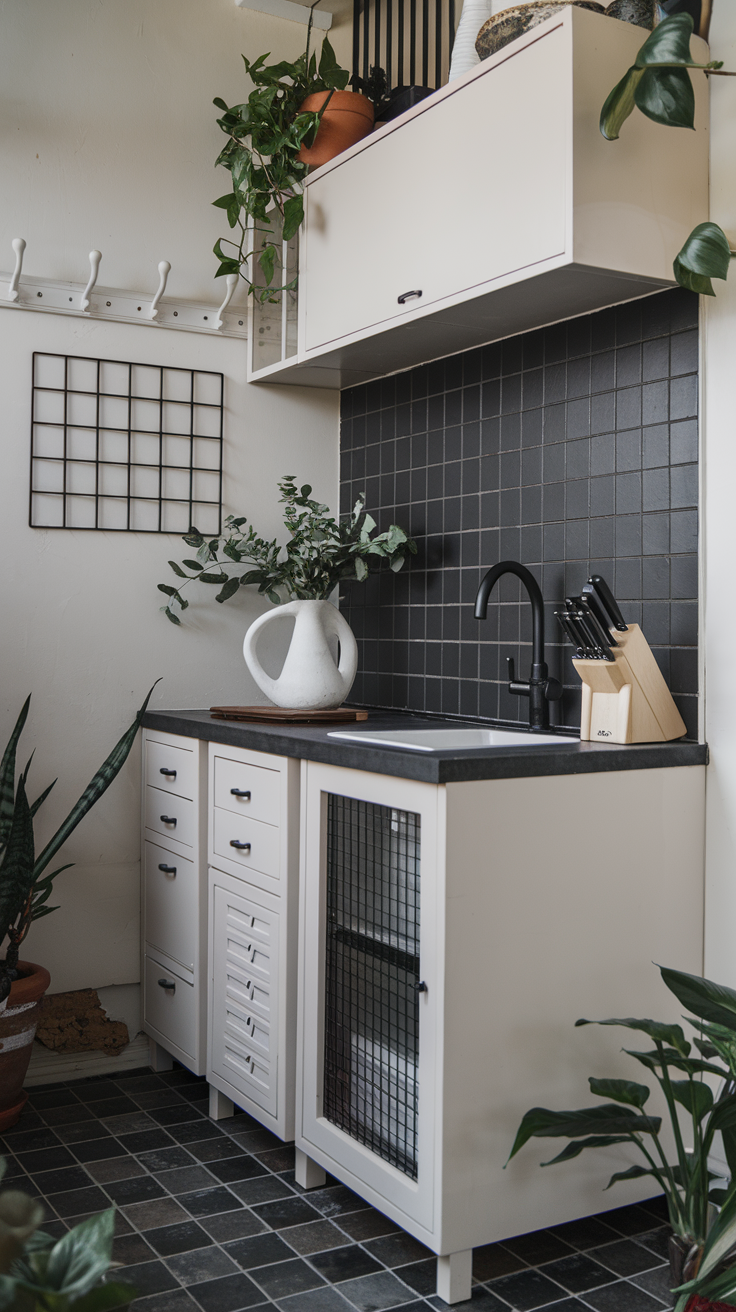
Even three feet of countertop turns a storage closet into something much closer to a butler’s pantry, and you don’t need custom cabinets underneath it. A laminate remnant or solid pine countertop resting on two inexpensive base cabinets can do the job.
The real payoff is in the kitchen: move the electric kettle, toaster and coffee maker in here and suddenly your main kitchen countertops feel twice as spacious.
Style it with restraint — two appliances, a wooden tray and a crock of wooden utensils. A striped or checked fabric skirt hung from a tension rod can hide whatever’s underneath for around $20–$30 and looks far more charming than basic cabinet doors.
10. Be braver in here than anywhere else
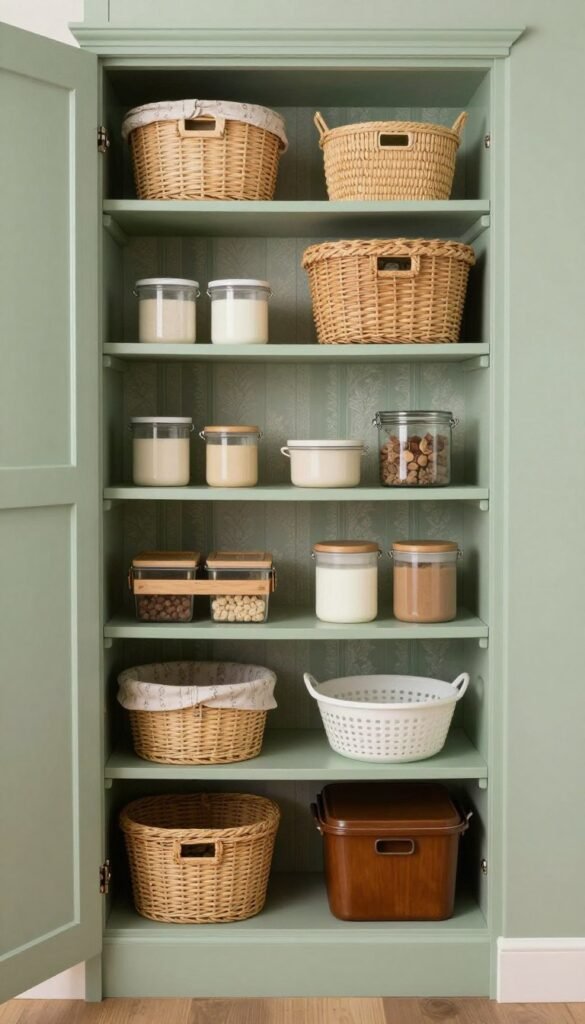
It’s a small room, the door is usually closed, and a single gallon of paint may be enough to transform it. This is one of the lowest-risk places in your house to try the deep green or inky blue you’d never dare use across the entire kitchen.
Wallpaper works beautifully on the back wall behind the shelving, especially when the pattern is small or tonal. Your pantry is already full of visual noise from boxes, bags and packaging, so a quieter pattern usually works best.
You Might Also Like
Three looks to steal
Pick one and buy nothing outside it. That restriction is what makes an inexpensive pantry look deliberately designed.
Warm minimal — Warm off-white walls, oiled pine shelves, glass jars with beech lids, black metal brackets and canvas bins. Clean without feeling cold.
English cottage pantry — Deep sage or olive on the walls and shelves, scalloped shelf trim, brass label holders, wicker baskets and a small rattan pendant. This is the one that photographs especially well in softer light.
Soft modern — Mushroom taupe throughout, white shelves, matte-white or smoked-glass containers, aluminum or matte-black hardware and felt bins. Calm, simple and very tidy-looking.
Before you buy a single container
- Empty it completely — onto the kitchen floor or counter. You’ll probably throw out or donate more than you expect.
- Group it how you actually eat — not how pantry articles tell you to.
- Measure width, depth and vertical clearance — then subtract at least an inch from the vertical measurement. Put the numbers in your phone.
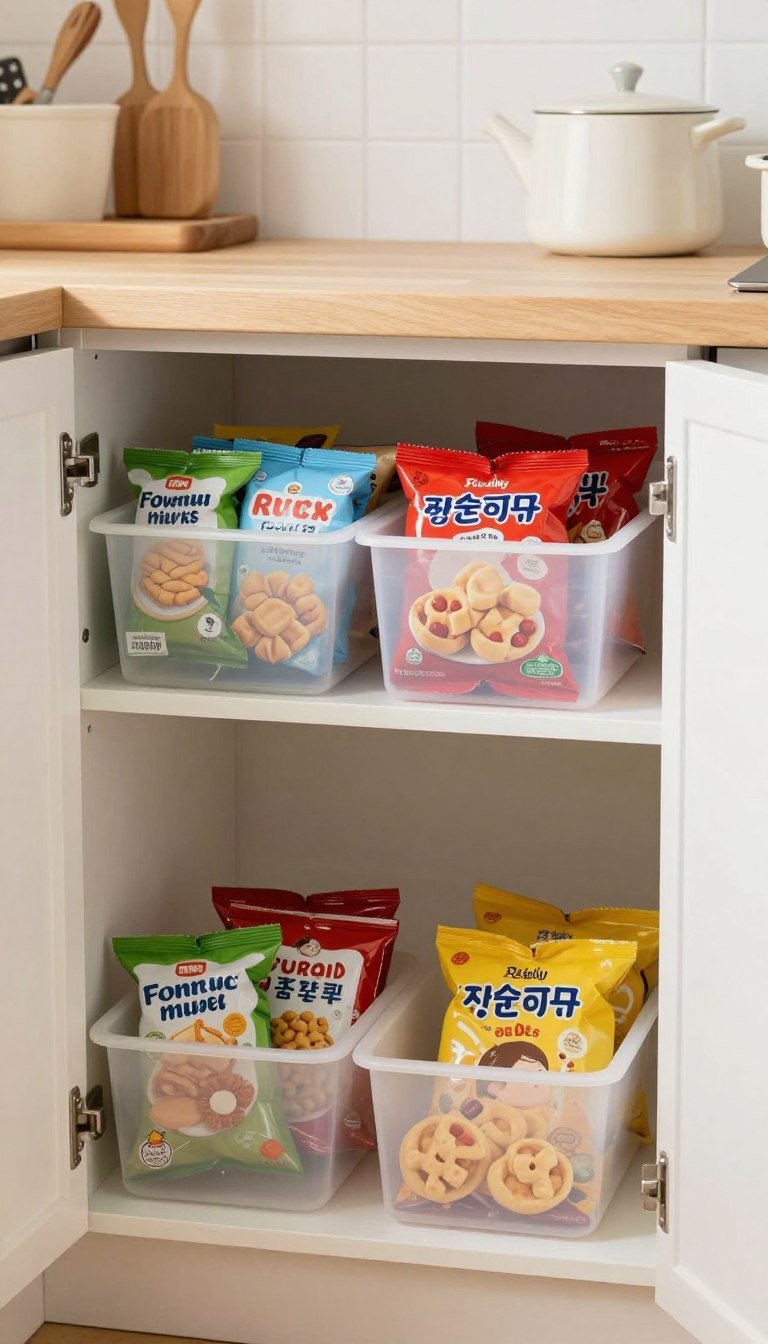
- Contain the ugly, not everything — cans look perfectly fine on an open shelf; giant multipacks of chips usually don’t.
- Leave half a shelf empty — or next week’s grocery run will end up on the floor.
Small pantry? Four fast wins
- Go up — keep lightweight backstock on shelves above eye level.
- Choose square containers over round ones whenever possible; round containers waste valuable corner space.
- Use the back of the door for anything flat or lightweight.
- Keep the floor completely clear — bags and boxes creeping across the floor are what make a small pantry start to feel unusable.
Where to start this weekend
Start with the lighting — it’s inexpensive, and it can change the room in an afternoon. Then paint the shelves and walls together. After that, empty everything out and measure properly. Only then should you buy storage, and buy one basket or container before you buy six.
Roughly $150–$200 can make a surprisingly big difference if you’re working with the shelving you already have. It can look like you spent far more, not because of expensive cabinetry, but because everything in the room is repeated, coordinated and well lit.
Start with whatever’s annoying you most. Usually it’s the flour. For you, it might be that corner.
Kitchen Accessories
Discover stylish and practical kitchen accessories, from clever storage and countertop essentials to useful tools and finishing touches that make everyday cooking easier.
Shop Kitchen Accessories